Was that last tug on your light pull chain the straw that broke the camel’s back?
Don’t worry, there’s no need to stay in the dark on this one (or in the light depending on how the chain’s stuck). Here is a list of steps that will help you replace a broken light pull chain:
- Turn off the power.
- Remove the lightbulb, fixture, covers, and accessories.
- Unhook the wiring.
- Replace the old switch and chain with new ones.
- Reattach the wires.
- Put all covers, accessories, and fixtures back in place.
- Reinsert the lightbulb.
- Turn on the power.
- Test the new pull chain.
Need some more information? Then take a look at my rundown of the important steps in more detail.
What to Do When the Pull Chain for a Light Is Stuck
Feeling tempted to phone an electrician to get this one done? If so, then step away from the phone, you’ll regret it! Changing a light pull chain should take you no more than fifteen minutes. That’s right, you’ll be back with your feet up on the couch in next to no time.
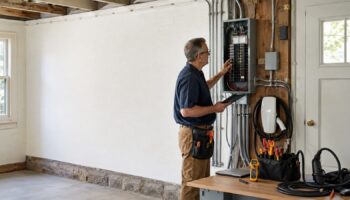
Turn Off the Power
The thing that puts us off the most about doing electrical work isn’t really the work itself. What gives us the spooks is the danger of coming into contact with electrical currents.
So, how can you get around this potential hazard? Make sure you turn the electrics off at the circuit breakers. This should be done before you proceed with changing your pull chain.
For an extra dose of inner peace, pull the fixture away from the box without touching the wires. Then measure the voltage on the wires with a voltage meter. If they don’t give off a reading, you can feel safe to continue.

Remove the Lightbulb, Fixture, Covers, and Accessories
Remove the lightbulb from the electrical box. Then use a screwdriver to remove the covers and accessories from the box. Moving the accessories out of the way will make it easier for you to get your hands on the pull chain without damaging any of the other parts.
Unhook the Wiring
Before unhooking the wiring, take a photo or make a note on a piece of paper of the wire connections. This will serve as a useful guide when you come to hook the wires back up. It will stop you from connecting the wires incorrectly.
Rehooking the wiring in the wrong place could be very dangerous. So, if there was ever a step to skip, it’s definitely not this one!
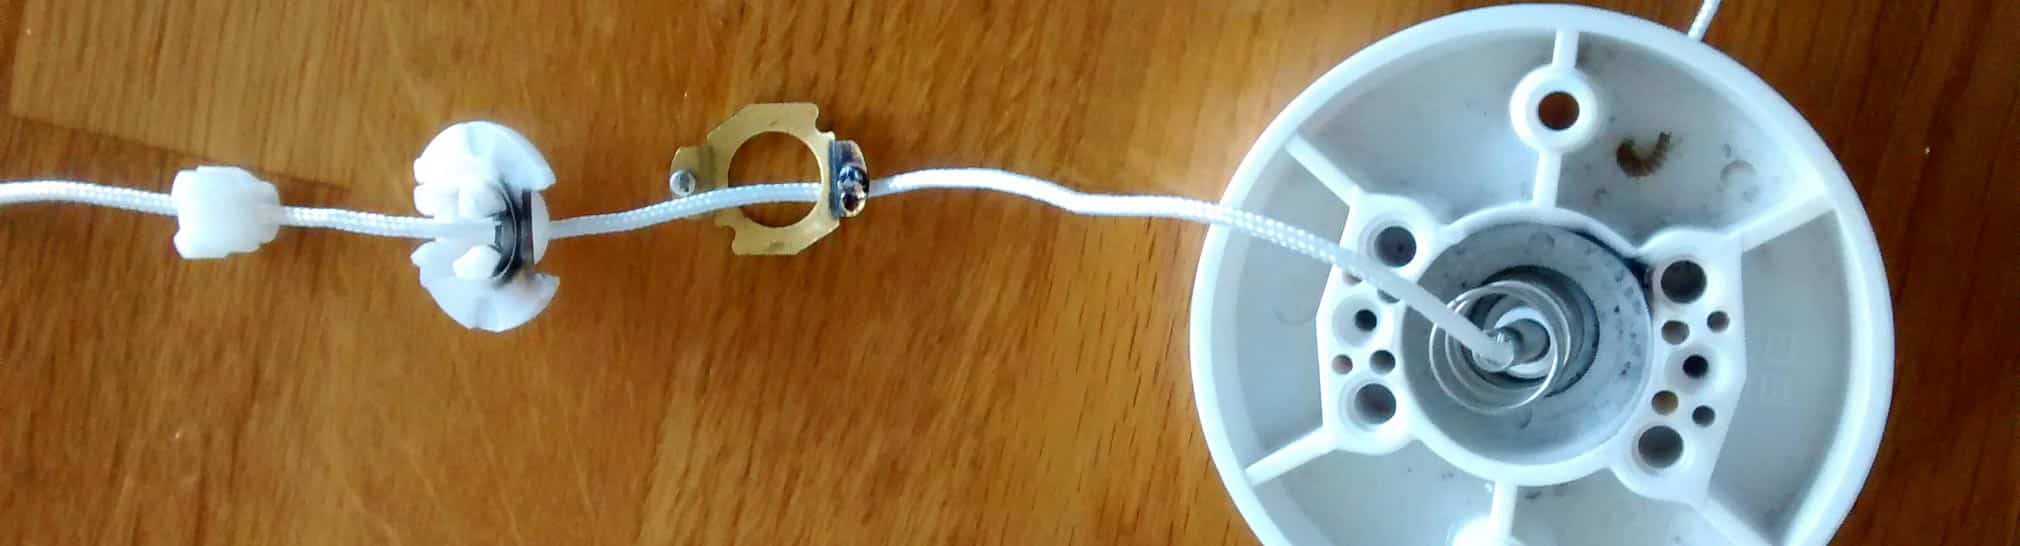
Replace the Old Switch and Chain With New Ones
Pull out the old chain and remove the damaged switch. Screw into place the new switch and thread in the new pull chain.
Once they’re screwed into place, have a little tug on the new pull chain. This way you can make sure it’s working properly before you proceed. You should hear a clicking noise when pulling the chain. If you do, then reward yourself with a pat on the back! You’re halfway to a job well done.
Reattach the Wires
Connecting the wires correctly is important when changing a light fixture. If it’s not done properly it could make the fixture overheat unnecessarily. This could cause someone to get an electric shock the next time they go to change the lightbulb.
So, how can you get around this danger? Refer to the photo you took or note you made of how the wires were connected. This will help you to reattach them the right way around. You should be attaching ground to ground and black to black.
Wrap the wires clockwise so that they cover ⅔ of the terminal screws. Firmly tighten the screws and this will compress the wires slightly.
Put All Covers, Accessories, and Fixture Back in Place
Use a screwdriver to screw down the covers and accessories you removed earlier.
Twist the fixture to spiral the wires into the electrical box and then screw the fixture to the end cap. Be careful not to use too much pressure when tightening the screws. Most end caps are made of plastic and could be brittle.
Reinsert the Lightbulb
Here’s the easy part! Reinsert the lightbulb. You’re on the home run!
Turn On the Power
Once everything is back in place, you will be safe to turn the power back on at the circuit breakers.
Test the New Pull Chain
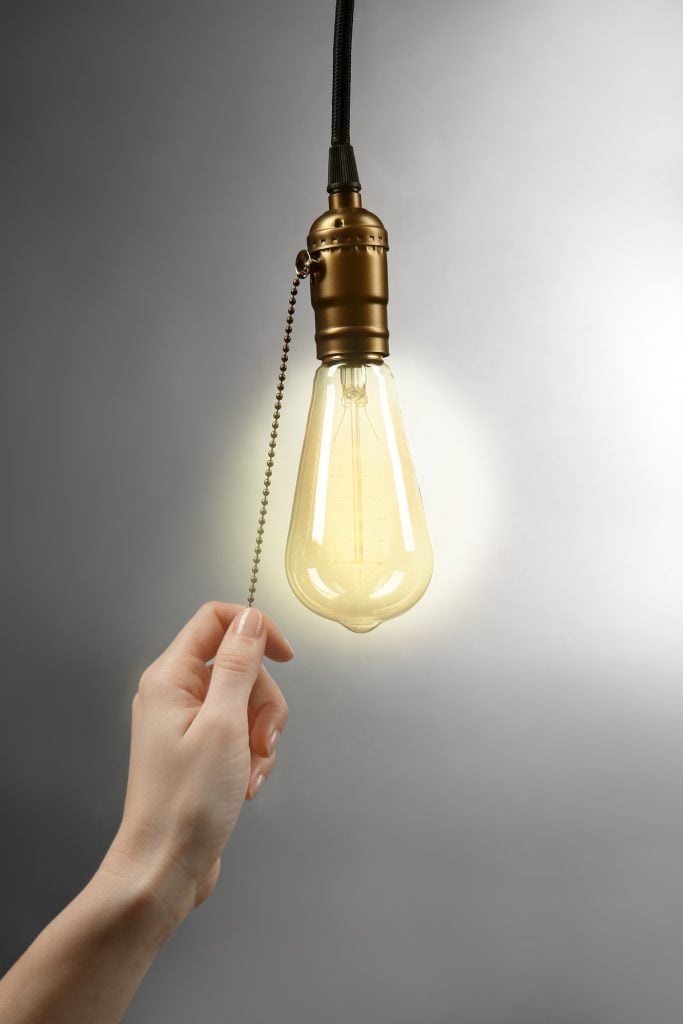
Feel free to have a good old tug on your brand-new pull chain! There’s nothing that’ll top that sense of achievement!
Should I Replace a Pull Chain if It’s Gotten Stuck?
The first thing you should do when considering whether a pull chain is stuck is identify the problem.
When it comes to fixing a pull chain there are only two options:
- The pull chain is wrangled up inside the mechanism. It has been yanked too hard or has got twisted and will not free itself. If this is the case you can try lubricating the problem area. You should do so with a non-conductive lubricant spray.
- There doesn’t seem to be a problem with the chain itself but simply will not click in and out. In this case, your only other option will be to replace the chain.
Is It Worth Lubricating a Pull Chain?
If there isn’t a problem with the switch inside the socket then it may be worth lubricating the pull chain. Does the chain look like it is stuck because it has twisted itself inside the mechanism? Then a lubricant may help to ease it up again.
Ready to get started? Here’s how to do it:
- Choose a non-conductive lubricant spray.
- Locate the area where the pull chain leads to the switch and spray it with the lubricant. Or, if you can physically see where the chain has got stuck, spray that area.
- Pull the chain gently to see if you can get the light to switch on and off. If the chain still doesn’t budge, then you will have to replace the pull chain and the switch.
How to Choose a Replacement Pull Chain
Many things make little jobs like replacing a pull chain easier. One of them is that you should be able to find a new pull chain in just about any hardware store. And to top it all off, they’re usually as cheap as chips. So combine an economic pull chain with the money you’ll save not shelling out on the electrician’s labor and… Well, that all-exclusive cruise around the Caribbean is closer than you think.
But with so many different options to choose from, how can you know which pull chain will be the best? Don’t worry, I’ve got you covered. Before choosing your pull chain, consider a few things:
- The length of your last pull chain. Was the last chain too short? Now’s your chance to get a longer one! What if your last chain was too long? Many modern pull chains can be adjusted to the length you desire. This can be done by removing some of the links in the chain. But, for your safest bet, measure your old pull chain before going to the hardware store. This will help you choose one that’s just right.
- The material of your pull chain. Of course, plastic is a great, inexpensive option. But some other materials are easier to clean and more hardwearing. Opt for stainless steel or similar materials.
- The color of your pull chain. Ok, so the pull chain on your light feature may never be the centerpiece of the room. And your pull chain light is no doubt stuck in an office or a basement/ loft space that no one really uses. But, that doesn’t mean it’s destined to be ugly. Choose a chain that will match your light feature and go with the decor of the room.
Conclusion
A broken light pull chain is a pesky problem. Especially as those little lights are fantastic at brightening up a cupboard or attic space.
Luckily though, the replacement parts for a pull chain are inexpensive and by following the steps, you should be able to fix it in next to no time.
If this article has helped you, why not consider supporting us by checking out our related articles?
Thanks for reading, and have a great day!
-Craig


Designing Modern Living Rooms from Iconic Movies

7 Tips for Heating a Room with High Ceilings (On A Budget)