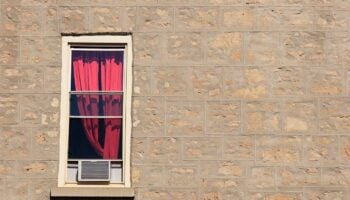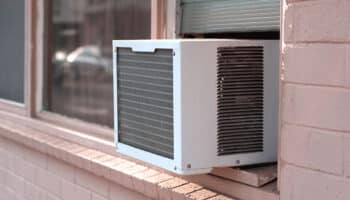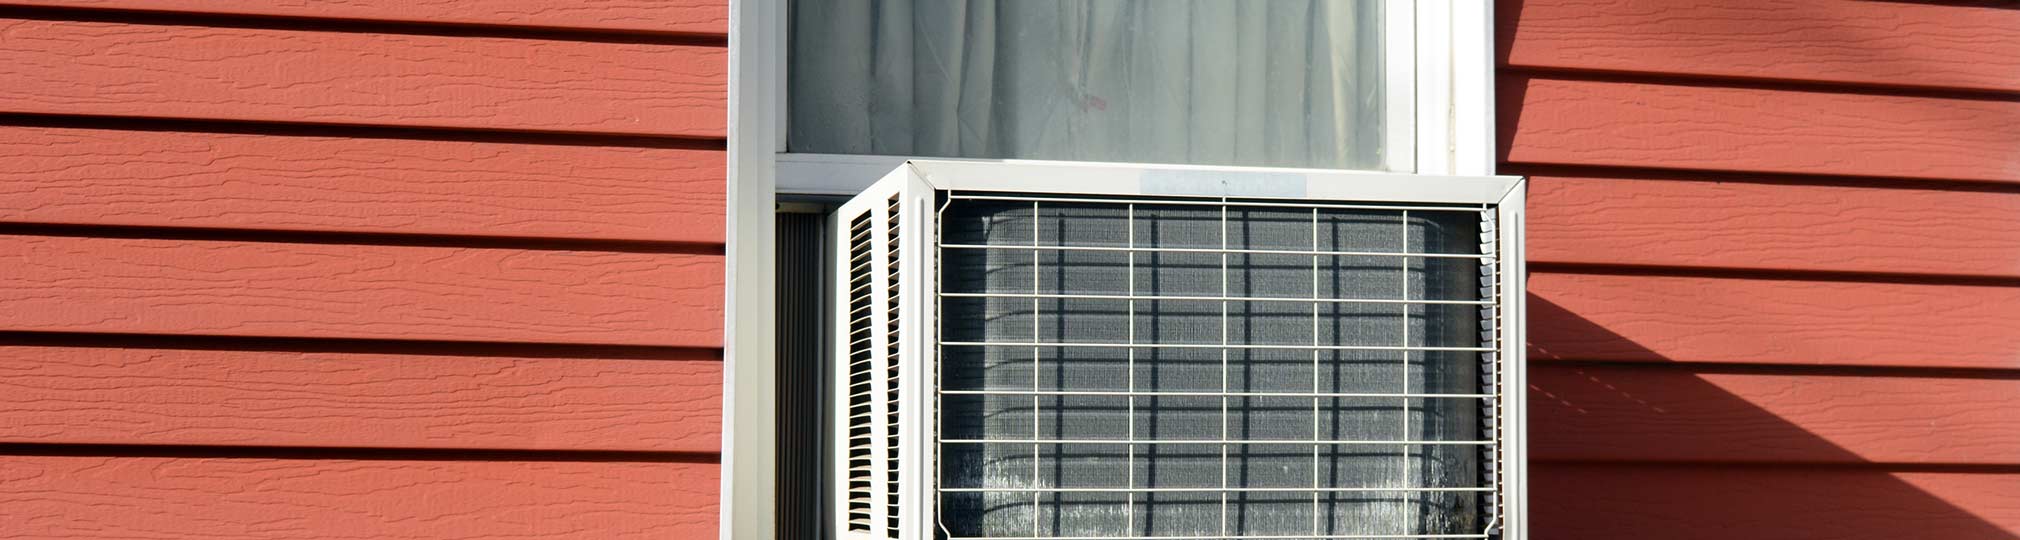
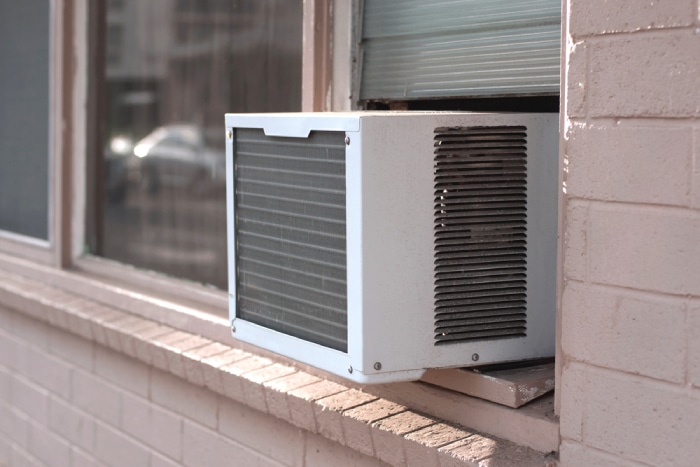
There are a few reasons why installing a window air conditioner without side panels may be necessary.
Perhaps you bought a used unit, but it didn’t come with them. Maybe you bought a new window air conditioner, but you weren’t as careful as you should have been and didn’t check the specs first. Now it won’t fit in your window with the panels attached.
Maybe you just hate the look of them.
First, yes. You can install a window air conditioner without side panels. You can use a variety of mediums in place of the plastic accordions, such as plywood, plexiglass, even rigid foam board. The purpose of the panels is to make the room airtight. Use whatever will safely accomplish that.
Read on, and I’ll cover those options in more detail below.
Options for Installing a Window Air Conditioner Without Side Panels
Before I get into the options, let me preface this by saying that some of these alternatives may be better than those accordion extensions that come with your window air conditioner.
Depending on how well you seal and install them, they aren’t that energy efficient. Not only can they let hot air in and your expensive cold air out, but there’s also a good chance they’re letting in all sorts of creatures you don’t want in your home.
So don’t feel like the alternatives are a bad thing.
First up, for those who aren’t handy with tools.
Option 1. Buy Insulating Side Panels
I’m including this because there may be some who simply have windows that are too large to make use of the side panels that came with their unit, and they are looking for alternatives.
Most big box hardware stores will sell insulating side panels that are much larger than the originals. Some will extend up to 9 inches wide and 18 inches tall.
These panels can be used along with or in place of your existing side panels. You can also cut them to size.
Option 2. Use Foam Board Insulation
What you’ll need:
- Foam board: Expanded polystyrene foam, extruded polystyrene foam, or polyisocyanurate. (More on these options below)
- Measuring tape
- Drywall saw
- Scissors
- Duct tape
- Paint (optional)
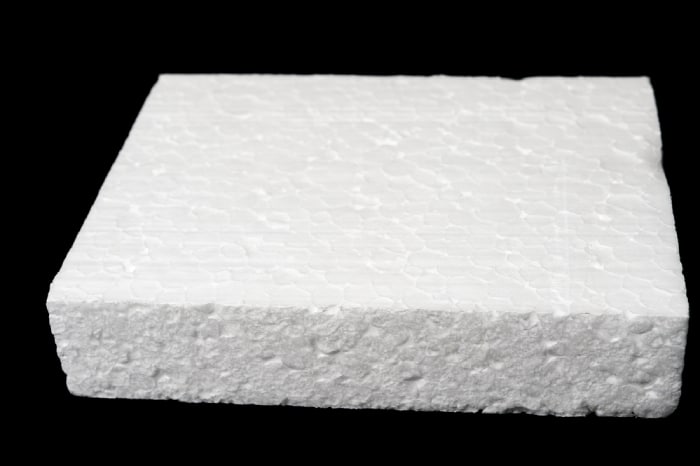
First, choose what kind of foam you want. Is cost or energy efficiency more important to you?
- Expanded polystyrene foam is the least expensive but it’s also the least energy efficient. It has an R-value of only 3.6 to 4.0 per inch.
- Extruded polystyrene foam is the most common board with a medium density. It costs more than the above but it’s more energy efficient. It’s easy to use and has an R-value of 4.5 to 5.0 per inch.
- Polyisocyanurate is the most expensive and the most efficient. It’s also moisture resistant and comes with a foil back, making it easy to tape in place. It has an R-value of 7.0 to 8.0 per inch.
Step 1. Measure and Cut
Grab your tape measure and determine the size and shape you need to cut. If in doubt, cut a bit bigger, since shaving a bit off isn’t that difficult.
Step 2. Paint (Optional)
Foam board isn’t pretty, and you may not care. If you do, you can paint it to whatever color you want. You can even paint it different colors on each side to match you interior and exterior.
Step 3. Place Around Air Conditioner
Carefully fit your board around your air conditioner. Don’t use too much force, as it could break. Make whatever adjustments you need so that it fits snuggly in place.
Step 4. Secure and Seal it
Cut enough duct tape to run along all the seams of the board, creating an airtight seal.
A note about duct tape. It will eventually dry out and crumble. This isn’t much of an issue if you install your unit seasonally, but if you leave it in all year, be sure to inspect the tape occasionally.
In terms on being an energy efficient option, foam board is your best bet. However, it’s certainly not the most esthetically pleasing.
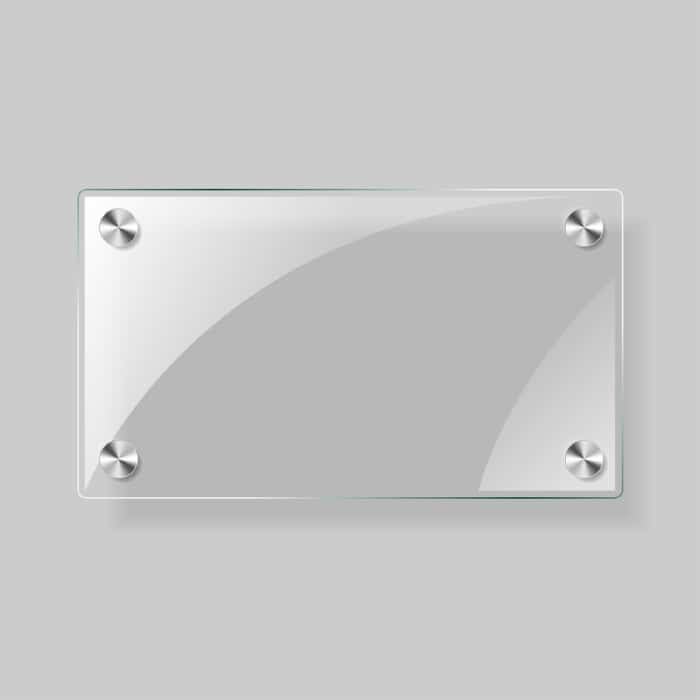
For something the looks as close to what a window should look like, I would recommend going with Plexiglass.
Option 3. Use Plexiglass
Using plexiglass over any of the other alternatives means you won’t lose any natural light.
The installation process is much the same as the above, you’ll just need some different tools.
What you’ll need:
- Sheet of plexiglass
- Measuring tape
- Glass cutter or box cutter
- Screws
- Screw driver
- Weather stripping
- Caulk
Step 1. Measure and Cut
Measure out the size and shape of the plexiglass you’ll need. You can use either a glass cutter or box cutter to score out the pattern on both sides of the plexiglass, just be sure to do this before removing the protective cover.
Once you have scored both sides, you can simply snap the plexiglass.
Step 2. Place Around Air Conditioner
Now that your pieces are cut, fit them in place around the air conditioner.
Step 3. Secure it
Remove the protective coating from the plexiglass and put it in place. Then use the screws to screw it securely to the window sash and bottom rail.
Step 4. Seal it
Depending on the gaps, you can either use weather stripping and caulk or just some caulk. Just make sure all gaps and crevices are sealed.
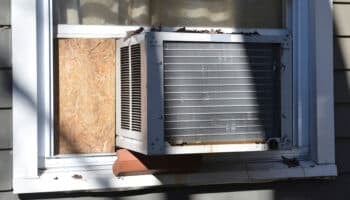
Option 4. Use Plywood
Plywood is a common option, but like foam board, not too attractive. Actually, it’s tacky and ugly, but it will work. And you can stain it or paint it to make it look a bit better.
What you’ll need:
- A sheet of plywood
- Tape measure
- Circular/Table/Hand saw
- Paint or stain (optional)
- Face mask
- Eye protection
- Screws
- Screwdriver
- Weather stripping
- Caulk
Again, the steps mirror those above with just a few differences due to the material.
Step 1. Measure and cut
Measure out how much plywood you use. It’s a good idea to mark a pattern on your wood. Depending on what type of saw you have, the next part may be easy. But it will create a low of saw dust, so do this job in an appropriate spot and be sure to wear protection.
Step 2. Place Around Air Conditioner
Take your plywood and fit it in place around your window air conditioner. Watch out for splinters—or be smart and wear gloves.
Step 3. Secure it
Use your screws to secure the plywood but does this from the outside of the house so they’re not as visible. If you don’t have easy outside access, doing this step on the inside is fine.
Step 4. Seal it
If necessary, place weather stripping around the perimeter. If not, caulk should be sufficient.
Conclusion
As you can see, there are a variety of ways to install a window air conditioner without side panels. However, all the presented options aren’t equal.
- If you’re more interested in aesthetics, go with the plexiglass
- If you’re more interested in energy efficiency, go with one of the better foam board options.
And remember, if you do choose board or plywood, you can paint or stain it to make it look a little better.
Thanks for reading! Hopefully you’re leaving with an answer that works for you. While you’re here, why not check out some of our related posts below?


Designing Modern Living Rooms from Iconic Movies

7 Tips for Heating a Room with High Ceilings (On A Budget)