We've independently reviewed this article to make sure it's as accurate as we can make it.
To find out more about our article creation and review process, check out our editorial guidelines.
For those of us who grew up unfamiliar with the concept of HVAC dampers, they seem to be the definition of luxury.
Targeted temperature control at your fingertips means any part of the house can be a paradise while the rest doesn’t burden your power bill. Yet all good things must come to an end—or at least a replacement!
Although the exact price depends on where you live, a full-service replacement of an HVAC damper shouldn’t go over $500. If you’re willing to put in a little time and effort, you might even be able to pull it off yourself, paying only one or two hundred dollars for the parts.
Read on to find out how!
Signs Your HVAC Damper Needs to Be Replaced
The easiest way to tell that something might be amiss with your damper is to check whether it’s working. This is a straightforward process that you don’t need a professional for.
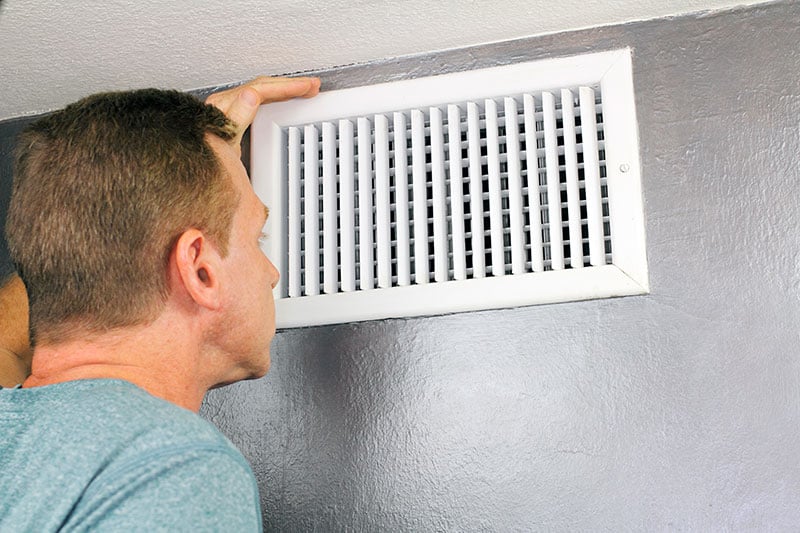
- First, make sure you know which zone the damper affects. By following the ductwork from the damper, you can see which area(s) of the house it should be able to affect the airflow to. Make sure you can access these registers comfortably.
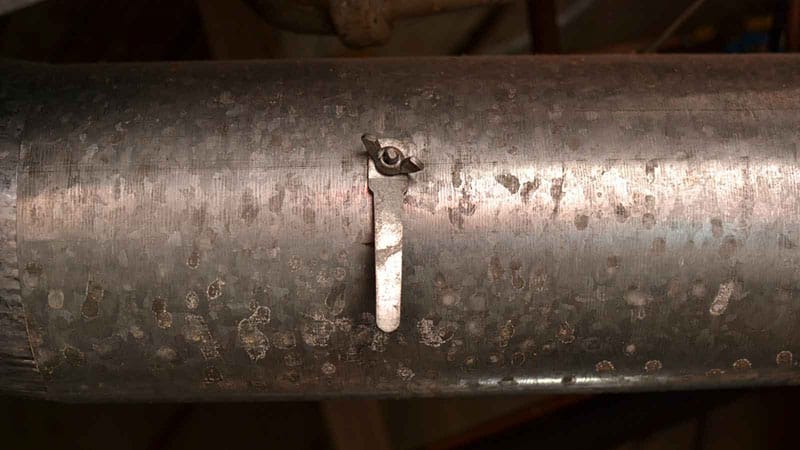
- Now, determine whether the damper is manual or automatic. A manual damper should have a handle for adjustments attached to the ductwork. An automatic damper is motor controlled. A visual inspection should show you what you have if you don’t already know.
- Get your HVAC blowing and check the vents. If your damper is open and air is flowing out of the register, that’s a good sign. However, you’re not in the clear yet. Close the damper and see if the air flow is stopped. If it is, you have nothing to worry about!
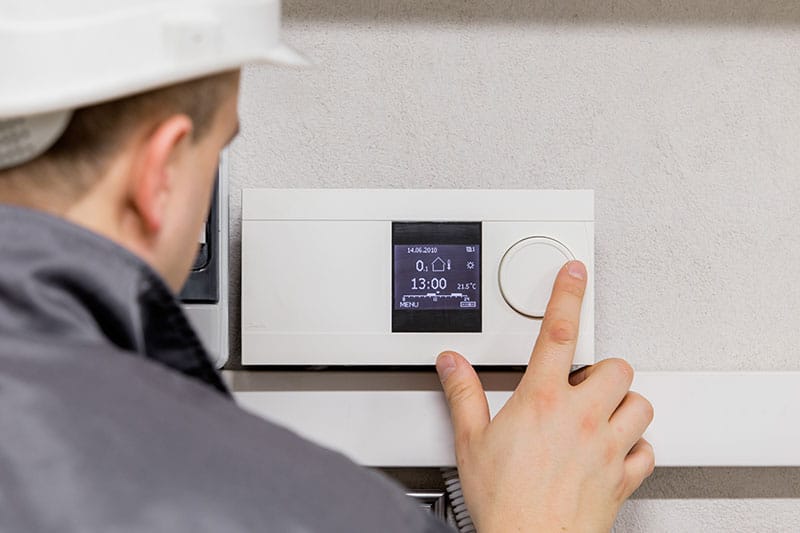
If your automatic damper seems to be working properly, it isn’t time to replace it quite yet. There’s a chance the damper itself is working perfectly, but the thermostat in the cooling zone isn’t. This means that the control panel thinks the temperature in the zone is different than it is. This is straightforward to check.
- Make sure the thermostat is still working. Does it turn on when you try to use it? Your problem could be solved just by replacing dead batteries. If that doesn’t restore function, you might need a new thermostat.
- Check the thermostat’s calibration. An important component of the thermostat is its internal thermometer. Over time, these can stop working properly. Get a thermometer from the store and put it right next to the thermostat. Leave it there next time the room is cooled. When the HVAC stops blowing air, check to see if the room is the right temperature. Make sure to check that the published temperature on the thermostat agrees with your thermometer.
- Double check the main settings. There’s always a chance that there was a miscommunication during the setup of your automatic dampers. Make sure the room in question isn’t part of a different cooling zone. If it is, you just have a programming malfunction.
How Long Do HVAC Dampers Last?
Nothing lasts forever, but some things last a long time. HVAC dampers are one of those things. While your central air conditioning itself can be considered old at 15 (and a fair number need to be replaced before then), your dampers can be expected to outlive that a fair bit. The expected lifespan of HVAC dampers is over 20 years.
That being said, there was a period when a few popular manufacturers had an inferior product for several years, and it manifested its self with replacement dampers every 3-5 years. It was so bad that it almost every HVAC company would carry spares in their vans!
How Do You Replace an HVAC Damper
While many people prefer to hire a technician for the arduous process of any major home improvement project, the hundreds of dollars in fees that can be saved doing it yourself can be tempting. Before you sign up for this kind of project, it’s good to know what you’re getting into.
For this and all other projects, it’s VERY IMPORTANT to make sure that the power to the unit is turned OFF before you start. You risk serious injury and serious damage by working on any active (or potentially active) appliance.
- Find the existing dampers in the ductwork. You may have already done this when assessing your dampers. Make sure that the ductwork is supported before moving to step 2.
- Open the ductwork up. Use a knife to score the foil or duct tape next to the damper and remove the screws through the scores. This should give you access to the fitted ductwork.
- Remove the damper from the ductwork. Slide the damper section out from the neighboring pipe and set it aside. Pay attention to which side the crimped end is on. This is the direction the air is flowing, and you’ll want to make sure you orient the replacement correctly.
- If you want a more secure bond, break out the mastic. Mastic is a thick paint like substance that cures to form an extremely tight seal. Brush this on the crimped end of your new damper if you want to use something even better than duct tape. This is entirely optional. You can also get ‘mastic tape’ which does the job without the mess, and is easier to remove.
- Insert the new damper. You need to slide the crimped side into the ductwork in the same direction as the airflow. This prevents air from leaking through the seal. If you’re a visual learner, check out this short how-to!
- Seal it all up! Make sure everything’s connected back together. Use sheet metal screws on both ends to tighten it securely. Then, use fiberglass tape, duct tape, or more mastic to seal everything up so no air leaks out!
- Try it out! The only way to be sure your damper is working is to give it a try. If it’s a motorized damper, you’ll need to wire it up first – of course.
Should You Call a Professional to Replace Your HVAC Damper?
When making the decision about whether to call a technician to do this or any job, the question boils down to one of cost versus time. Since this is not a dangerous job, as long as you follow common safety precautions, the only thing at risk is time, strain, and parts.
While the parts for an HVAC damper replacement can run under $200 total, a professional replacement can cost around $500. Your own cost will depend on the local companies, your particular ductwork setup (including accessibility), and whether it’s part of a larger maintenance job.
If you want to get any replacement part – or see how much one would cost – click to enter your model number in the search bar below. Our partners at AppliancePartsPros stock almost every part with free guides on how to install them.

If you aren’t confident in your own skills, or if after looking through this guide and looking at your own ductwork you aren’t sure what to do, it might not be worth the risk to do it alone. Damaging parts or your ductwork can become much more expensive than hiring the professional would be.
Conclusion
Dampers are a long-lasting and sturdy investment, but when they stop working, they need replacement. This isn’t the most expensive type of HVAC repair, but it will run a fair ways into the triple digits. A seasoned technician can get this job done lickity-split, but it’s within the range of a dedicated DIY amateur.
Whichever you choose, it won’t be long until you’re back in precision-cooled paradise!
Thank you for reading this article! For more on appliance maintenance, upkeep, and replacement, please consider reading the articles below!


Designing Modern Living Rooms from Iconic Movies

7 Tips for Heating a Room with High Ceilings (On A Budget)