We've independently reviewed this article to make sure it's as accurate as we can make it.
To find out more about our article creation and review process, check out our editorial guidelines.
Stuck trying to figure out why your water heater is not working?
Sadly, this is a known issue. There’s nothing more annoying than wanting to take a hot shower before jumping into bed, only to find that your water heater is not working.
This may happen due to a faulty water heater thermostat.
To test your water heater thermostat, you’ll need to turn off the power, access the thermostats, and disconnect the wires. Then, use a digital multimeter and place the leads on each terminal.
Before we begin, a word of warning: you will be working with electrical components. If necessary precautions are not taken, you could be injured. Please proceed with caution and/or call a professional if you are not confident.
With that said, let’s dive right in!
10 Steps to Test a Water Heater Thermostat
Testing a water heater thermostat may sound like a difficult thing to do, but it’s actually really simple, and you can do it on your own.
The 10 steps you should follow to test your water heater thermostat are:
#1 Turn Off the Power
You always need to turn off the power when repairing or testing a water heater thermostat. This way, you’ll prevent getting hurt.
To do it, go to the circuit breaker and locate the breaker for the water heater. Most of these heaters need to be installed on a dedicated circuit, so the switch should be separated from your home’s main circuits.
#2 Access the Thermostats
When you head to your water heater, you will notice two panels: one that is higher up on the unit and one that is lower down. These cover the thermostat and its components.
Please use a flathead screwdriver to unscrew the top and bottom access covers. Inside, there will be insulation with a cutout flap for the thermostat.
You can flip it down depending on how it was cut. Either way, make sure that it’s not blocking anything. You can also tape the flap out of the way.
#3 Remove the Plastic Cover
Once you’ve completed the steps above, it’s time to remove the plastic cover.
It will rest on top of the thermostat, so with the help of your screwdriver, take it off and place it somewhere safe.
Tip: Use the voltage stick to check the power. It’s always good to double-check that there is no power running through the water heater. Place the stick against any of the terminals and check if the stick goes off. If it does, uh-oh, you still have power, but if it doesn’t, yay, you’re good to go! Repeat for both top and bottom thermostats.
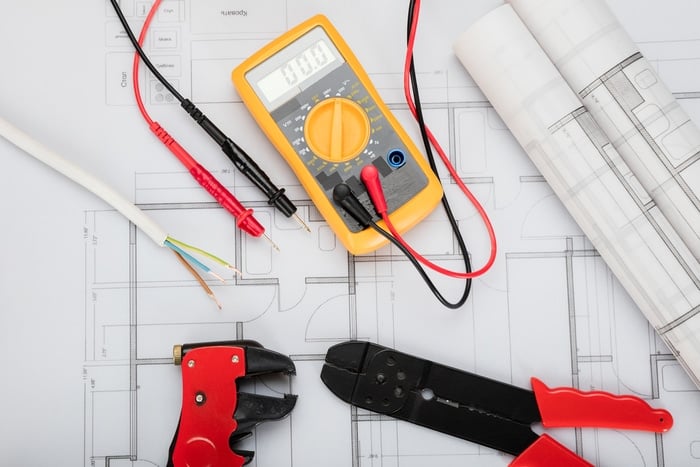
#4 Set Up Your Multimeter
Now, you need to set your multimeter dial to the lowest setting for ohms of resistance.
If you don’t have a multimeter, try borrowing one from a friend or buying one. You’ll be able to find multimeters in almost every home improvement store or on Amazon for less than $15 USD.
#5 Inspect the Reset Button
The upper thermostat will have a reset button.
This can go off when the water in the tank overheats for a number of reasons (which we’ll cover in a later section).
This is also known as “tripping the power”. If required, reset the reset button by pushing it in.
#6 Disconnect the Power Wires
Even though the unit has no power running through it, you must disconnect the wires to isolate the thermostat.
Make note of the orientation of the wires. Then, use your screwdriver to unscrew the terminals and release the wires.
Do this for both the top and bottom thermostats.
#7 Determine the Integrity of the Upper Thermostat
To confirm that the upper thermostat is working, please follow these 5 simple steps:
- Place your multimeter lead on the reset terminal. This should be located right next to the reset button. It would have also been the terminal that did not have any power wires running to it.
- Move the second lead to the left-side terminal. Make sure to keep your first lead on the reset terminal as you do this. This will be the one that did have the power wire attached to it.
- Make note of your multimeter reading. If it reads as 1, your upper thermostat has no continuity and must be replaced. If it is in working order, it should read as 0 ohms of resistance or very close to it.
- Move the second lead to the right-side terminal. Again, make sure to keep your first lead on the reset terminal as you do this. This terminal would have also had a power wire attached to it
- Make note of your multimeter reading. Once again, if it reads as 1, there will be no electric continuity. If it reads as 0, you’re in the clear.
#8 Check if the Water Temperature Is Lower or Higher Than the Set Temperature
Now, it’s time for us to check if the water temperature is higher or lower than it should be. To do it, you’ll need to follow these 6 simple steps:
- Place your multimeter lead on the left common terminal. This can be found in the lower half of the thermostat.
- Move the second lead to the upper heating element terminal. Make sure that your first lead is still on the common terminal as you do this.
- Make note of your multimeter reading. If your water temperature is lower than it should be, the first reading will be 0 ohms (or close to it) while the second reading will be 1 (no continuity).
- Move the second lead to the lower heating element terminal. Make sure that your first lead is still on the common terminal.
- Make note of your multimeter reading. If your water temperature is higher than it should be, the first reading will be 1 (no continuity) while the second reading will be 0 ohms (or close to it).
- Remember whether your water temperature is higher or lower than it should be. You will need it to compare to when checking the lower thermostat.
#9 Determine the Integrity of the Lower Thermostat
Once you’ve checked the integrity of the upper thermostat, it’s time for us to do the same for the lower thermostat.
As a reminder, you should have checked to make sure there was no voltage and that you disconnected the power wires.
To check the lower thermostat, you’ll need to use your multimeter and place your leads on the two terminals.
If your water temperature is lower than it should be, the reading should be 0 ohms (or close to it). If the water temperature is higher than it should be, the reading should be 1 (no continuity).
#10 Check the Results
So, what’s the final verdict? Do you have to replace it?
If the upper and lower thermostats are showing opposite readings, then yes, the lower thermostat must be replaced.
In clearer terms, if the upper thermostat shows that the water temperature is higher than it should be, but the lower thermostat shows that the water temperature is lower than it should be (or vice-versa), your thermostat is defective.
And that’s that! Phew! That sure was a lot of steps, but you’ve now determined if your water heater thermostat is the root of the problem.
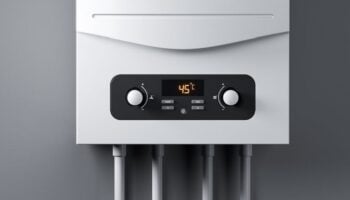
But before you go and put everything back together, maybe you should consider changing the temperature of the water heater.
Adjusting Water Heater Thermostats
Most manufacturers set the temperature to a default of 140°F (60°C). This is significantly higher than anyone in a residential setting needs!
Save energy (and money) by setting the temperature to a lower and more realistic value.
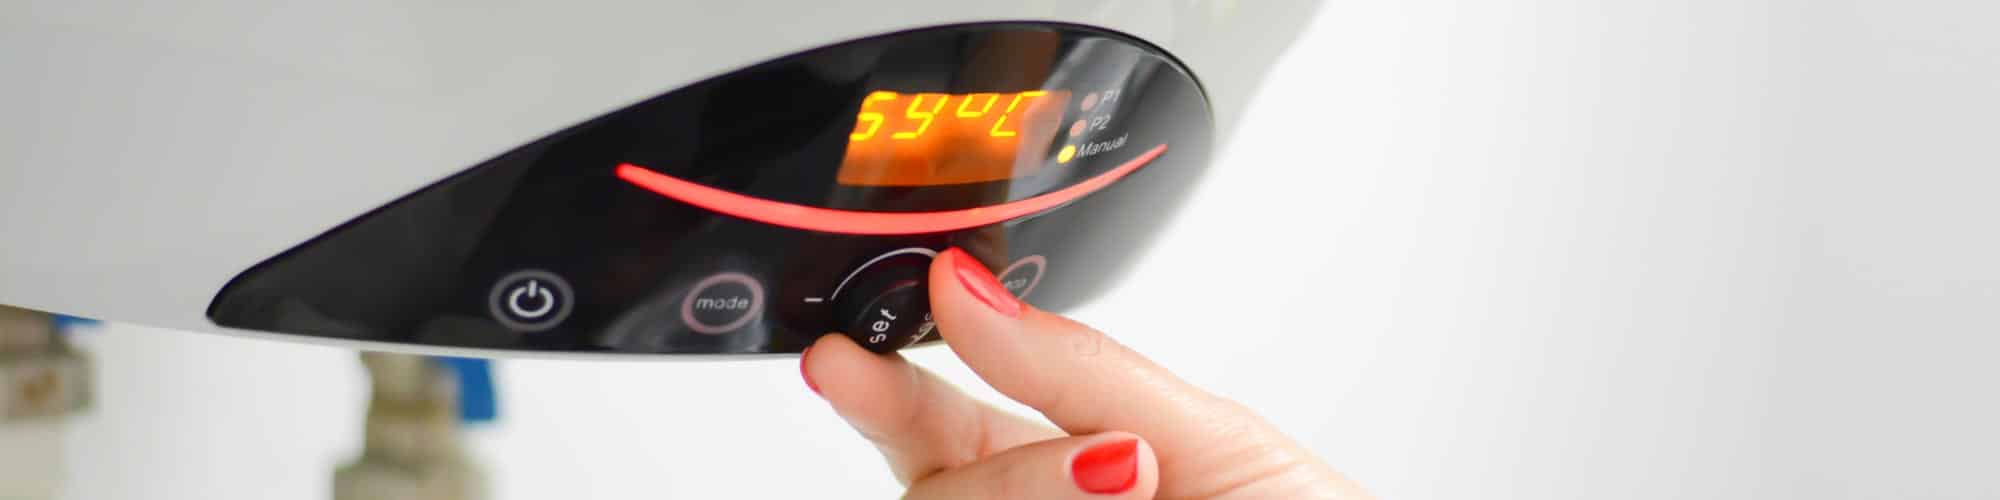
How To Adjust the Temperature?
If you haven’t closed the heater’s thermostat access covers yet, you’re already more than halfway done! If not, proceed with steps 1 to 3 once more before carrying on.
Without the covers, you should see a dial with a pointer that’s set to the designated temperature. Simply use your flathead screwdriver to adjust this to the temperature of your choice.
We suggest a temperature of no lower than 120°F (49°C) and no higher than 140°F (60°C).
Once you’ve adjusted the temperature, reconnect all wires, place the plastic cover back on, put the insulation back in place, and screw the access cover back in. Make sure you switch the breaker back on when you’re all done!
Why Does Your Water Heater Keep Shutting Down? 3 Possible Causes
So, you’ve adjusted the temperature and checked your thermostats to make sure they’re all in working order, but why does the water heater keep shutting down?
Well, as briefly mentioned before, the reset switch that’s built into the thermostats is responsible for this. When the temperature of the water that’s inside the tank gets too high, the reset switch will cut the power to the heater.
Here are 3 reasons why it might be happening:
- The heating element is dying. With age, your heating element could have its integrity compromised. Thus, it won’t work as it should. If this is the case, the water in your tank could get overheated and cause the reset function to trip. This will then cause the heater to shut down.
- The Energy Cut-Off (ECO) Switch. The ECO switch protects the water from getting too hot, acting as another failsafe in conjunction with the reset function. It can get worn down over time and break. Although this alone would not cause the heater to turn off, it is usually an indication of other problems.
- Bad wiring. If everything else is fine, the reset switch could be tripping because of a short circuit that’s caused by faulty wiring. If this wiring is exposed to water, whether directly or indirectly, it will pose a great risk and should be worked on by a professional. Do not attempt to fix or diagnose this problem on your own.
Conclusion
And that’s that!
With a couple of screws and poking around with your multimeter, you’ve hopefully found the problem with your water heater.
If you found this article helpful, please check out our related posts below and consider signing up for our mailing list to get a head start on all our new articles.
Thanks for reading!


Designing Modern Living Rooms from Iconic Movies

7 Tips for Heating a Room with High Ceilings (On A Budget)