We've independently reviewed this article to make sure it's as accurate as we can make it.
To find out more about our article creation and review process, check out our editorial guidelines.
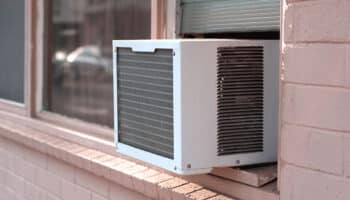
Are you trying to remove a window or wall air conditioner in your home?
You’ve come to the right place! In this article, I’ll walk you through 5 simple steps that will help you get the job done with ease.
To remove a window AC, you need to drain and turn it off, remove the fixtures, place a towel down, and tease it out through the open window. To remove a wall AC, drain and turn it off, put a towel down, set up a ladder, and remove the face cover.
Are you ready to get cracking with this job? Then make sure you check out these steps one-by-one in the extended guide below.
How to Remove a Window Air Conditioner
The year flies by! Before you know where you are, we’re staring winter in the face and the cold weather is upon us.
Uninstalling your air conditioner before the winter months will help you to minimize window drafts and keep your house warmer. It will also prevent your air conditioner from premature wear and tear.
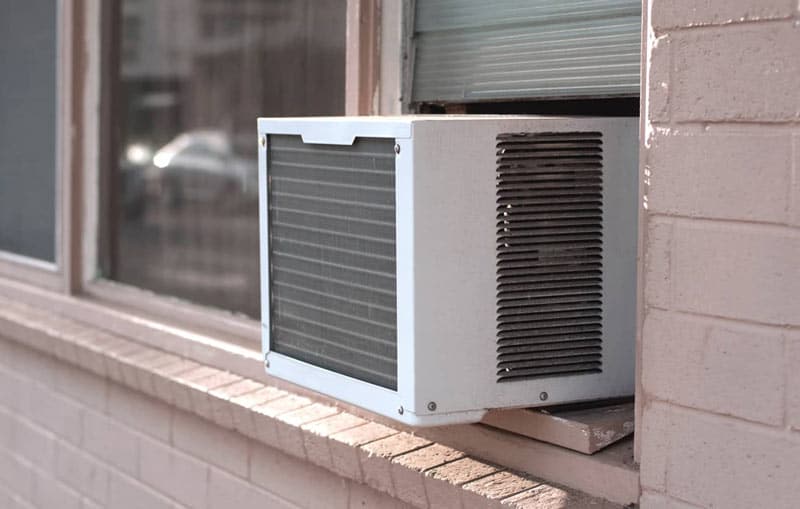
#1 Remove the Drain Plug
The first step to removing a window air conditioner is taking out the drain plug.
You should remove this plug so that any excess water that the AC is holding onto can flow out of it. This will help to dry the AC out before you uninstall it and put it into storage.
Removing this plug on a sunny day before you attempt to uninstall the air conditioner is best. This will help the unit to dry out and will prevent mildew.
This will also help you to uninstall it without making too much mess inside.
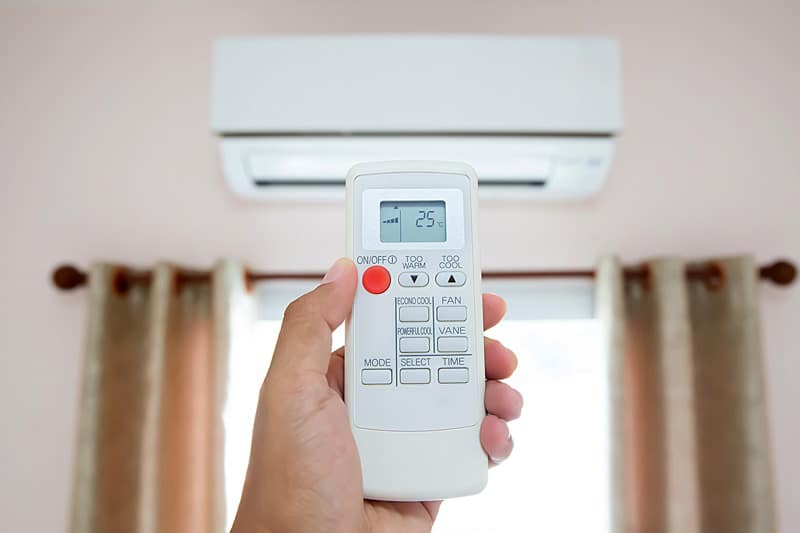
#2 Turn It Off
Next, turn the air conditioner off using the power button. Then plug the air conditioner out of the mains.
#3 Remove the Fixtures
You need to buddy up from this step onward. Phone a friend and get them to hold onto the AC unit pulling it inside the room while you complete the following steps.
Remove the screws, holding tape, or any other fixtures that hold the outside of the unit to the window ledge.
#4 Put a Towel Down
Lay a towel down on the floor inside the room. When you remove the air conditioner in the next step, you can place it on the towel.
This will soak up any excess water that leaks from it. The towel will also prevent you from scratching your floor.
#5 Open the Window
Very carefully open the window. If you didn’t get to remove the drain plug in step 1 of these instructions, you can gently tip the unit back now.
This will make sure that the water drains outside the window into the street and not inside your home. You should only do this if you have someone helping you to support the air conditioner.
(Out of love of neighbor, check that there isn’t anyone walking down the street around your house as you tip the water out of the air conditioner.)
With the window fully open and the air conditioner drained, you should be able to grab hold of it. Tease it inside and place it carefully on the towel.
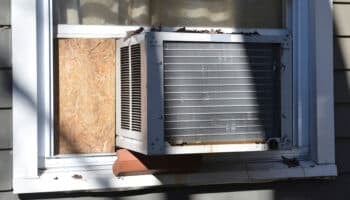
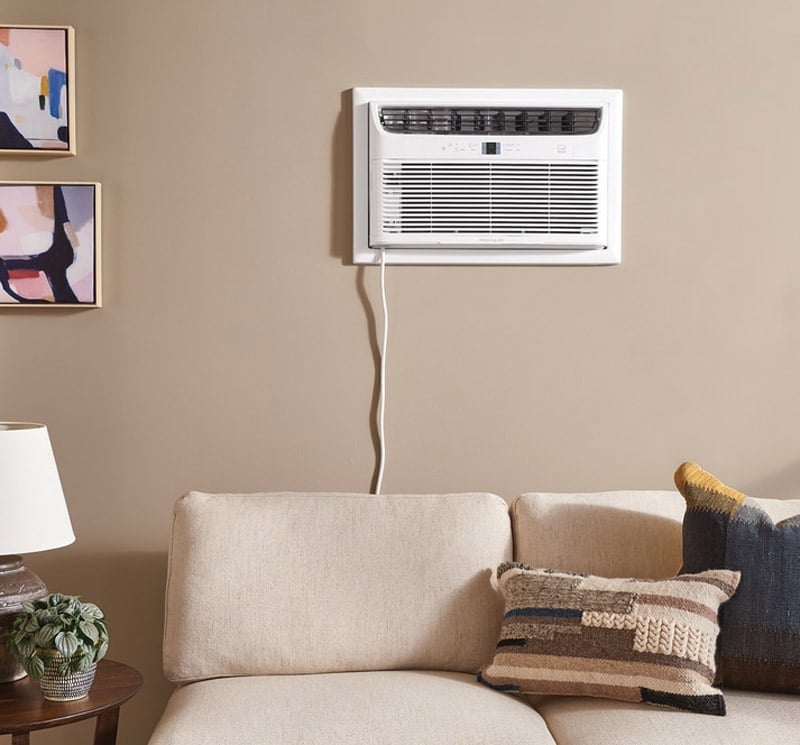
How to Remove a Wall Air Conditioner
Is your old wall air conditioner not cooling the room as well as it used to? Is it slow to get started and kind of noisy when it does? Then these may be signs that it is time for you to replace your old unit with a new one.
I am sure that you’re keen to remove the old air conditioner pronto so that you can get the new one up and running.
So, how can you remove the air conditioner from the wall without calling an HVAC specialist? Take a look at the following steps that will take you through removing your old air conditioner so that you can install a new one.
#1 Remove the Drain Plug
First and foremost, remove the drain plug from the air conditioner. You should take this plug out to drain away any excess water that the AC is holding onto. This will help to dry the AC out before you remove it and put it into storage.
It is best to take this plug out on a sunny day before you attempt to uninstall the air conditioner.
This will help the unit to dry out so you can uninstall it without making too much mess inside.
#2 Turn It Off
Turn the air conditioner off using the power button. Then plug the air conditioner out of the mains.
#3 Put a Towel Down
Lay a towel down on the floor under the air conditioning unit. You can place the unit on this towel once you have finished installing it.
The towel will prevent you from scratching your floor. It will also soak up any water that leaks from the air conditioner as you uninstall it.
#4 Set Up a Ladder
You will need a buddy to help you complete these next few steps. So, phone a friend, and let’s get started.
Most air conditioning units are set up high in places that are kind of awkward to get to. Is your air conditioning in a hard-to-reach place? Then you will need to set up a ladder that will help you to get the unit down. Make sure the ladder is safe to climb.
When using the ladder, get a friend to pass the tools you need up to you. This is safer than trying to climb up and down the ladder with tools in your hands.
#5 Remove the Face Cover
Next, remove the face cover from the wall air conditioner. With that out of the way, you should be able to get a hold of the unit on both sides and then pull it out of the wall.
Be careful, as old air conditioners can be especially bulky and heavy. You should get a friend to help you pull it and lower it onto the ground above the towel.
#6 Remove the Screws
Next, use a screwdriver to remove the screws from the frames of the walls. With the air conditioner completely out of the way, you can make plans to fill the hole in the wall and cover it over.
Alternatively, you can even install a newer air conditioning unit in the same place.
Conclusion
That about covers it! Here’s a quick summary of everything we’ve discussed so far:
| To Remove a Window Air Conditioner: | To Remove a Wall Air Conditioner: |
| Drain it Turn it off Remove the fixtures Put a towel down Open the window and tease it out | Drain it Turn it off Put a towel down Set up a ladder Remove the face cover and screws |
If this article has helped you, please consider supporting us by checking out some more of our free guides or signing up to our e-mail list.
Thanks for reading, and have a great day!
Cheers,
Craig


Designing Modern Living Rooms from Iconic Movies

7 Tips for Heating a Room with High Ceilings (On A Budget)