You know something’s up when it feels cooler outside your mini-fridge than it does inside.
If your mini-fridge isn’t cooling properly, you need to check the door gaskets to ensure they’re giving a proper seal. Then confirm the fridge’s compressor is running properly, and that the thermostat is working correctly.
That’s the short answer, but if you want detail, then read on.
In this article – we’ll be looking at the 6 main causes of a mini fridge that isn’t cooling properly. Then we’ll walk you through how to solve each one.
If that sounds good, then let’s get started.
Fixing A Mini-Fridge That Isn’t Cooling Properly
A mini-fridge is an awesome addition to a garage conversion, games room, cellar, and other rooms in the home. There is nothing more satisfying than simply reaching over and helping yourself and your friends to a chilled drink. Traipsing halfway across the house into the kitchen for a cold drink is a thing of the past.
Mini-fridges are wonderfully convenient. That is why we really feel it when they start to conk out.
So, what can you do to help your mini-fridge back on the road to recovery? Take a look at the following 6 methods that will help you fix the most common mini-fridge problems.
#1 Check the Power Cord and Power Outlet
Checking the power cord and power outlet seem like dead easy fixes. But we often neglect the simpler jobs that end up being the solution to our problem. So, let’s briefly go over what you should do.
- Check that you have plugged the power cord in properly
- Examine the power cord for any damage. This could include bending or fraying of the cord. If the cord is damaged, discontinue the use of the mini-fridge until you have repaired it.
- Ensure that the power outlet is working properly. To do this, start by unplugging the fridge. Then plug in a different electrical appliance into the outlet. If the outlet is working properly, continue to method 2.
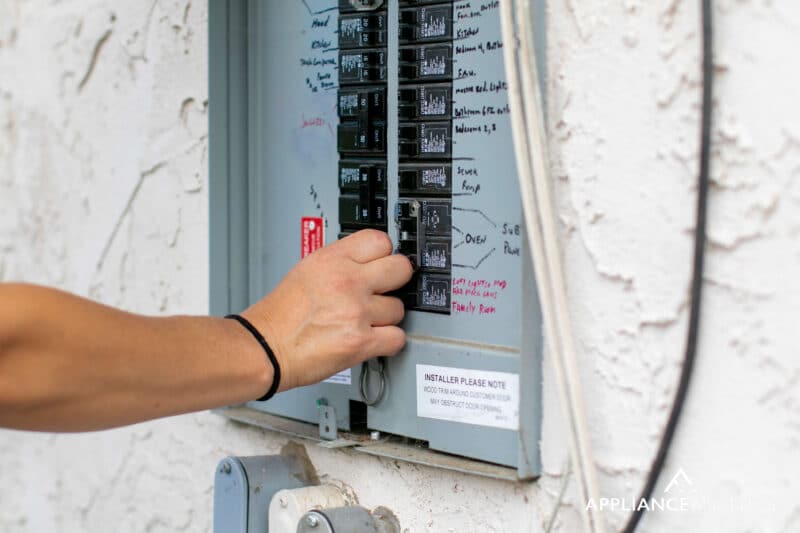
#2 Ensure the Circuit Breaker Hasn’t Tripped
Another easy fix that we often overlook is checking the circuit breaker. If the circuit breaker has tripped, there will not be any power to the mini-fridge.
Fixing this problem is easy. Here’s what you should do.
- Check the circuit breaker. If it has tripped, reset it. If the circuit breaker continues to trip, you will have to change the fuse.
- If you are not having any problems with the circuit breaker, move on to method 3.
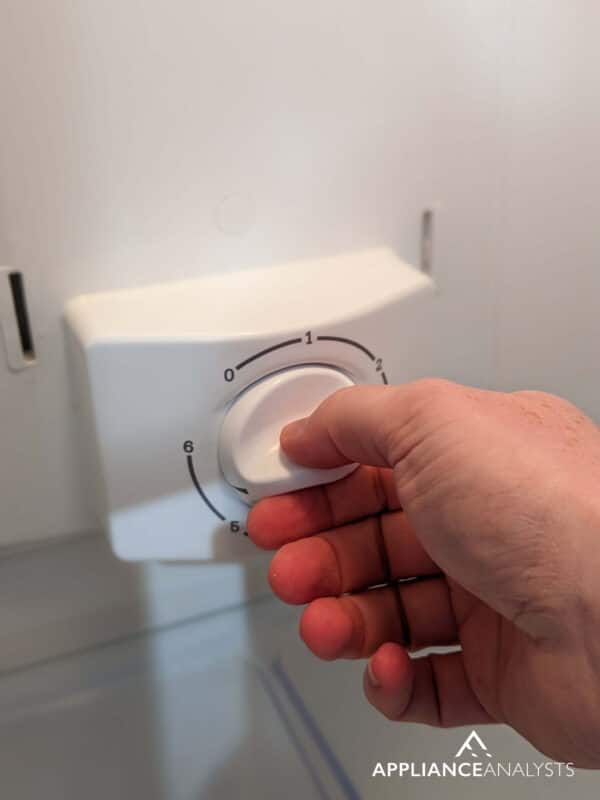
#3 Change the Thermostat Temperature
Mini-fridges are… well, mini. So, it’s easy to accidentally brush a hand against the thermostat and change the settings whilst moving things in and out of the fridge. If you’ve altered the temperature, your mini-fridge may not cool as you would like it to.
To fix this problem, the most you’ll need is a pair of pliers. Here’s how to do it.
- Check the temperature dial on the mini-fridge. If it is on a warmer setting, turn it to a cooler setting.
- If the mini-fridge is on the coldest setting but it still will not cool, the dial might be cracked. If cracked, it will spin around, but will not change the temperature of the fridge. In this instance, use pliers to turn the thermostat dial. If the temperature still does not cool down, take a look at method 4
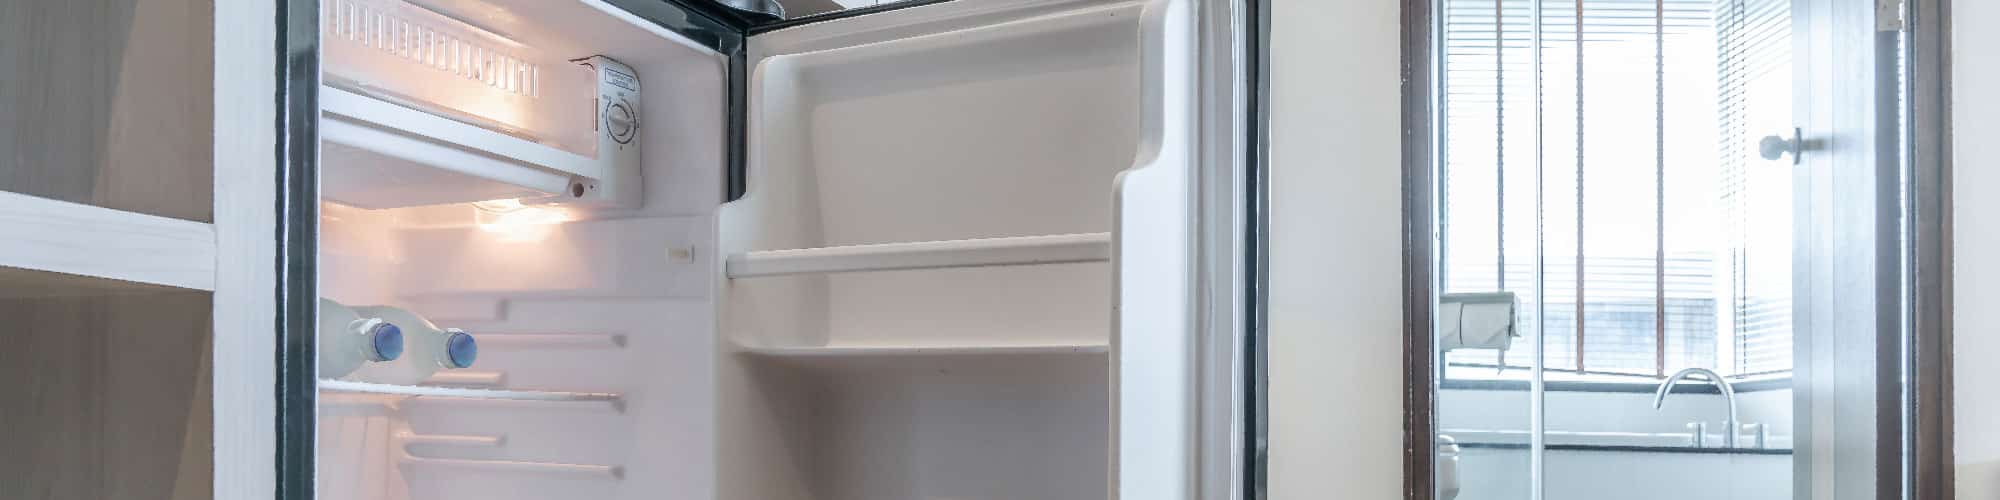
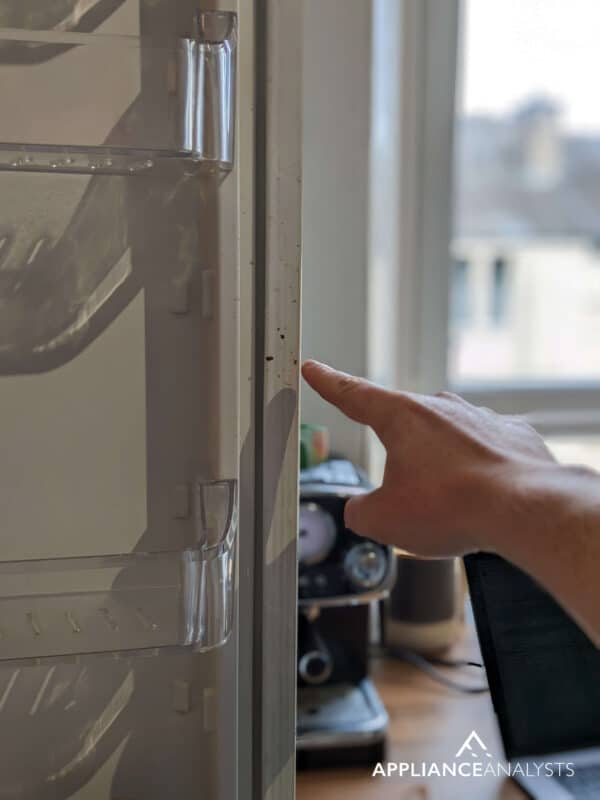
#4 Check the Door Gaskets
The door gaskets on your mini-fridge need to be working well for the unit to stay cool. Because a mini-fridge is very small, it only takes a little warm air seeping in for it to begin to struggle.
Your mini-fridges gaskets should shut tight. With the door shut, you should not be able to slide a piece of paper between them. Try doing that, but if this is not the case, the gaskets may need replacing.
If your door gaskets need replacing, it will simply be a case of unscrewing the old gaskets and sliding on new ones. The trickiest part of this job will be finding replacement gaskets. You will need to find a match for the make and model of your mini-fridge.
If you want to get any replacement part – or see how much one would cost – click to enter your model number in the search bar below. Our partners at AppliancePartsPros stock almost every part with free guides on how to install them.

#5 Replace the Starter Relay/Overload Protector
We’ve now arrived at one of the most common reasons why mini-fridges give up the ghost. That is because there is a problem with their starter relay/overload protector. Is this the problem with your mini-fridge? Then you can breathe a sigh of relief as it is a quick and inexpensive job to complete.
If you’re not sure what the problem is with your mini-fridge, it is still a good idea to start with this fix. Why? Because it is quick and easy and could save you from throwing out a perfectly-good mini-fridge.
A new starter relay/overload protector should cost you no more than $15. The only other tool you’ll need for this job is a flathead screwdriver. So, once you’ve got what you need, take a look at step number 1.
- Unplug the fridge
- Turn the mini-fridge around
- Remove the compressor clip. This will allow you to take off the cover that is on the starter relay/overload protector.
- Wedge a flathead screwdriver between the starter relay/overload protector. This will pull it away from the back of the mini-fridge. It should come away in two pieces.
- Unplug the white wire and unplug the blue wire to disconnect the old pieces
- Attach the new starter relay/overload protector
- Slide the starter relay/overload protector back in place
- Place the cover back on
- Replace the compressor clip
- Plug the mini-fridge back in
Would seeing a video of these steps help you to feel more confident completing the job? Then why not take a look at this quick tutorial video? It will walk you through these steps one by one.
#6 Listen Out for the Compressor
If all else has failed, one of the last things you should do is to listen out for the compressor. To do this, you will need to plug the mini-fridge in and turn it around.
If you cannot hear any noise coming from the compressor, it could have one of the following problems.
- The compressor is stuck
- The compressor is faulty
To fix a faulty or stuck compressor, you will need to replace it. Replacing a compressor is expensive. So, it may be more cost-effective for you to replace the entire mini-fridge.
But what if you can hear noise coming from the compressor but it won’t cool? Then the mini-fridge could have one of the following problems.
- The sealed system is faulty
- The condenser is restricted
- A capillary tube attached to the condenser has a small leak
Unfortunately, fixing any of these issues is expensive. Some of the replacement parts you’ll need cost over $100. So, what should you do if you have a condenser-related problem? The most economical thing to do would be to buy a new mini-fridge. This often works out cheaper than replacing the expensive broken parts.
Wrapping Up On Mini Fridges
You’ve got lukewarm beers and puddles of water in your ice tray. A mini-fridge that won’t cool is no fun at all. But I am sure the 6 methods in this article have helped you to get on track to fix the problem.
Has this article been helpful to you? Then why not check out some of our other articles and free guides on our website? You could even sign up to our email list.
Have a great day!
-Craig


Designing Modern Living Rooms from Iconic Movies

7 Tips for Heating a Room with High Ceilings (On A Budget)