
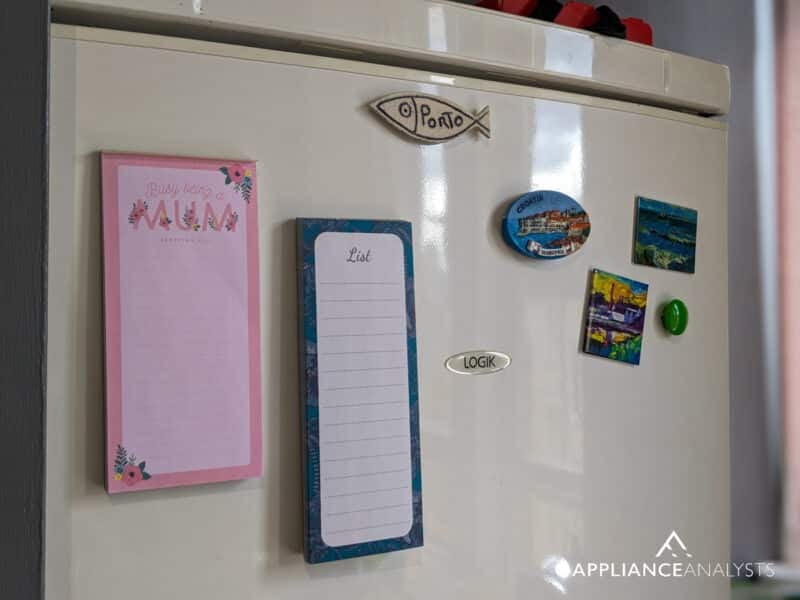
Today’s household fridge has become the hub of many a family’s communications and planning.
That’s no surprise – a fridge door provides a useful blank canvas for sticking all those reminders, rosters and bits of paperwork that we need to get us through the day.
The problem is, your fridge is not magnetic, so as you stick on those oh so useful magnets, everything drops in an untidy pile to the floor! It’s a pain and all your carefully laid plans to be organized are in a heap at your feet. Let’s sort this out together.
WHY ISN’T STUFF STICKING TO MY FRIDGE?!
Without getting too ‘sciency’, let’s take a look at what’s going on. The most common types of stainless steel used in fridges is austenitic, meaning it has a high nickel content – this makes the fridge door non – magnetic. So, there’s your problem right there.
Now, let’s see what you can do to get stuff stuck on that fridge and useful to you!
HANDY IDEAS FOR YOU TO TRY
- If you’re set on using all those quirky and colorful magnets you’ve collected over the years, you still can. Simply take your magnets, put a bit of reusable putty on the back, and that’ll get them to stick. Pop your piece of paper onto the putty, press the front of the magnet ‘holder’ firmly to the fridge, and voila!
- If using your magnets isn’t important to you, you can simply use the putty on its own as a magnet replacement.
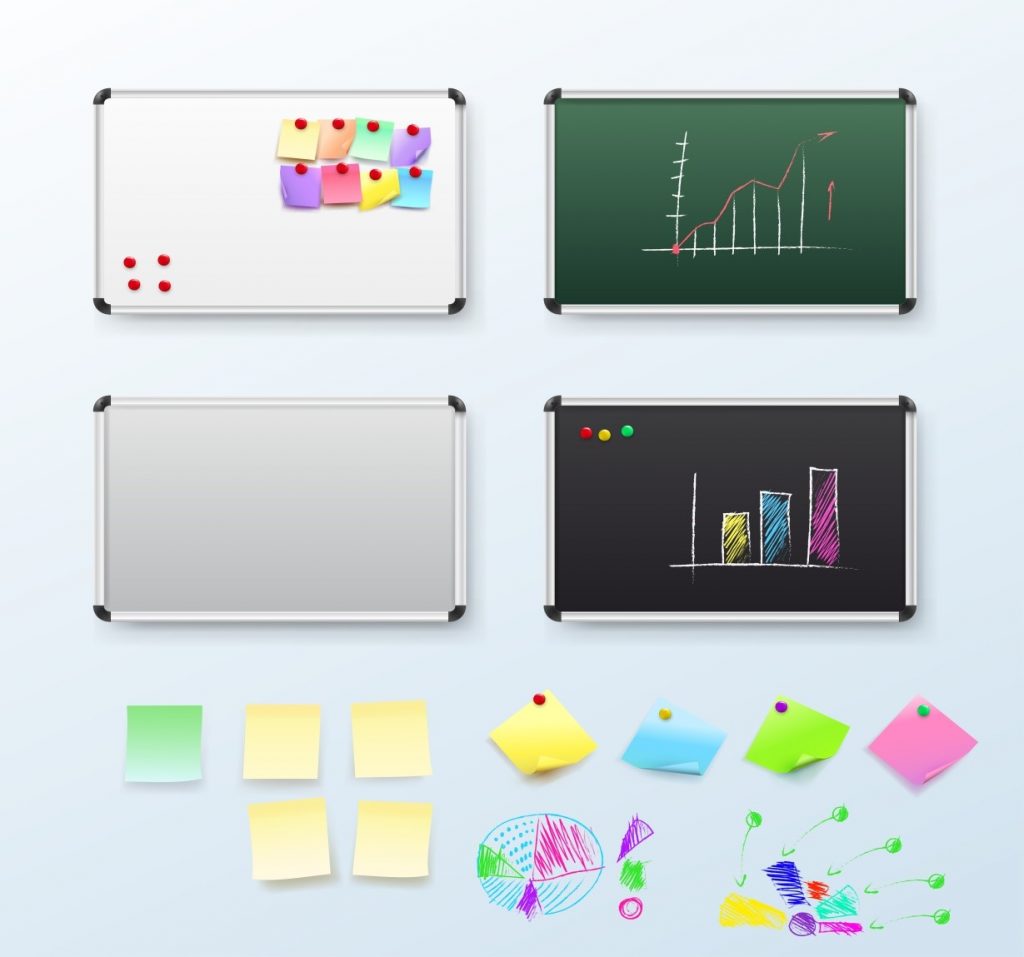
- Magnetic message boards are fantastic products to use on your non – magnetic fridge because they’re mounted with suction cups or strong double sided tape. Simply stick the board to the fridge, pressing the suction cups or tape firmly in place, and you have a magnetic surface ready to use.
You can find a range of magnetic boards in different sizes at large retailers like Lowe’s or at online retailers like Amazon.com.
- If the front of your fridge isn’t magnetic, try other parts of the fridge. Often the sides of the fridge are made out of different metals to the front, so they may be magnetic and able to hold all your magnets and bits and pieces of paper.
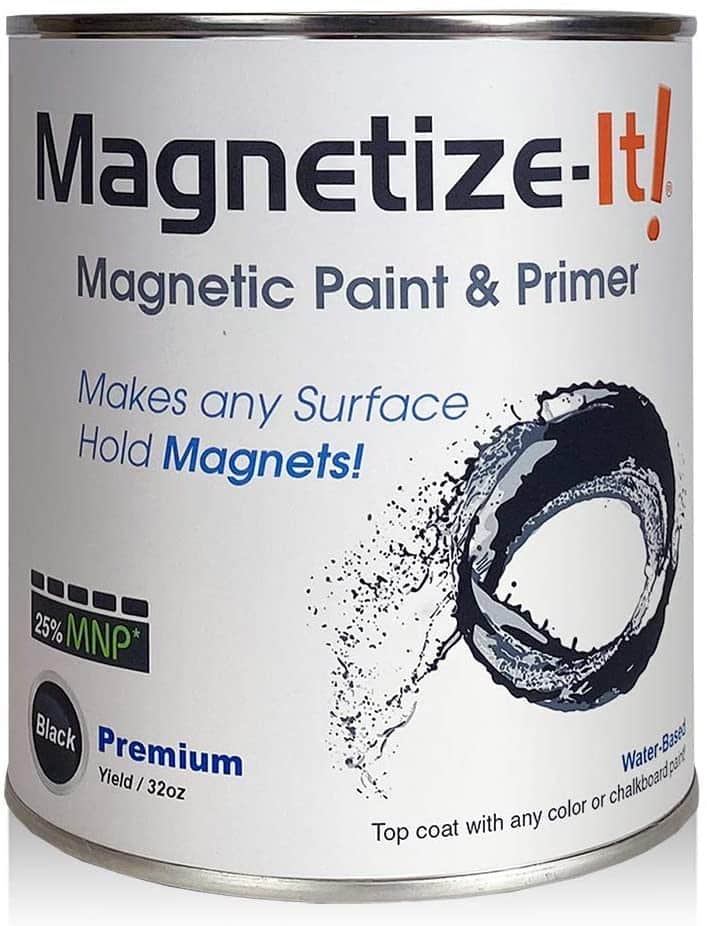
- If you have paintable cabinets in your kitchen near your fridge, consider painting them with magnetic primer before finishing with a coat of latex paint. The cabinets once magnetized provide another handy surface for keeping things.
- Make your own corkboard – buy yourself a lightweight picture frame and a piece of corkboard.
- Most hardware stores will carry these materials. Cut the corkboard (or have the store cut to fit for you) to fit inside the picture frame, and glue the frame down onto it.
- Make sure that your frame is open in the front without glass or plastic sheeting!
- Now put some reusable putty in the corners and middle of the back of your board, and press firmly to stick it onto the fridge – you can measure where you want it and make very light and easily removable placement marks by using a dry erase marker.
- Whatever you do, don’t use permanent marker! It will be MUCH harder to remove and could damage the finish of your appliance.
Once your board is neatly placed to your liking, you can use simple push pins to secure items to the corkboard. Items like push pins, corkboard etc. can be easily found at your local stationery store if your hardware store doesn’t carry them.
- For lighter items, like single pieces of paper, you can use double sided tape on the fridge.
- Check the package instructions to ensure that it’s the right kind of tape for stainless steel.
- The tape shouldn’t leave any sticky residue, but if it does – spray the area with WD – 40, wait 5 minutes or so for the adhesive to become loosened, then wipe away the sticky spot with a cloth, making sure to wipe with the grain of the stainless steel.
- Once that’s off, remove any traces of WD – 40 with a clean corner of the cloth.
- Some very easy D.I.Y and a bunch of simple clothes pegs make for fantastic note holders. Here’s how –
- You will need: wooden clothes pegs; paint; paintbrush; thick card paper; Prestik or double sided tape.
- Simply paint the pegs in whatever color or colors you fancy and allow them to dry. If you like their raw wood look, you can leave them plain.
- Place either Prestik or double side tape along one edge of the peg and press it firmly to the fridge, with its ‘jaws’ pointing downwards.
- Now you can press the peg open at the top, insert your piece of paper, and then let it hold your notes etc. neatly in place.
- If you want to decorate your fridge pegs with colorful and decorative touches, simply cut out some small badges or buttons from thick card, and attach these to the top surface of your peg (facing front) with Prestik or double sided tape.
- You can cut and color these decorative touches into any ‘look’ you like, or even print out inspirational quotes or small family photos to attach to your fridge pegs. This is a great simple D.I.Y project for kids – they can let their imaginations run wild!
MAKE YOUR OWN MAGNETIC BOARD
We’ve covered magnetic boards earlier in the article – how about saving yourself some money and making your own magnetic board for the kitchen?
It’s a super project that’s fun and easy on the wallet!
By all means get your kids involved but remember to be cautious with possibly toxic decorating materials and sharp metal edges, always read the packaging and follow any directions carefully. Here’s how:
It’s cheaper and easier to start with a frame that’s already been made. So, get an unwanted/second hand piece of artwork or framed picture, and remove the glass, cardboard backing and the art or picture itself. Using the cardboard backing as a template, you now have the right template to cut the steel to fit the frame.
SELECT THE RIGHT METAL SHEET
You may find smaller sizes of sheet metal at a hobby store, or you can try a metal supply store. DON’T choose aluminum sheet, as it’s not magnetic. Galvanized steel sheet is what you’re looking for, and ‘16 gauge’ is the easiest to work with for this project and not too heavy – it’s about 1/16 inch thick and will resist rust and corrosion for years.
CUTTING THE SHEET TO FIT YOUR CARDBOARD TEMPLATE
Using your cardboard template as your guide, you can (carefully) cut the sheet metal yourself with tin snips, but it’s easier and safer to ask the supplier to do it for you. A quality metal supplier will have no issue cutting it a custom size or shape for you. Just as a pro – tip, if you’re not using an outer protective frame, ask the supplier to ‘crimp’ all the outer edges by a quarter of an inch. This’ll give you a neater and smoother edge and protect users from cuts – sheet metal can be incredibly sharp.
PREPARING THE FRAME
Before putting your board together, you may want to customize the look of the frame to suit your taste, colors or décor of your kitchen. If it’s a bare wood frame, you could sand it lightly and then stain it, following the staining product’s directions on the package.
If the frame is already painted and you want to change the color, that’s not too difficult to do. Simply sand it down or strip it to remove the original color, then apply a couple of coats of primer, letting it dry between coats, then add a final layer or two of your chosen paint color. Your local hardware store will be glad to provide you with products and advice for this step. Remember when painting and using solvents – ALWAYS wear protective gear like a facemask and gloves, and work in a well ventilated area.
PUTTING YOUR MAGNETIC BOARD TOGETHER
Insert your steel sheet into the frame, followed by the cardboard backing. The cardboard backing will be behind your sheet metal.
Use the same hardware/screws etc. provided with the frame to lock these into the back of the frame.
Now simply add whatever hanging hardware you like (magnetic hooks or clamps for example), and you’re ready to hang it up and use it!
MAKING A COOKIE SHEET MAGNETIC BOARD
Another great D.I.Y trick to try for the kitchen is to make your own Cookie Sheet Magnetic Board.
Simply find yourself a new or used cookie sheet, make sure it’s clean from build – up and grease.
It has to be a metal NOT aluminum sheet, aluminum isn’t magnetic.
You can either find a pretty vintage one at your local shops or markets, or paint/decorate one yourself, the world’s your oyster with this project and it’s all about what you like and what will suit the ‘look’ of your kitchen.
You can consider using a new paint technique on it, or perhaps decoupage some pictures onto it that suit your personality; these are easy – to – do techniques that you can find easily online.
Once you’ve decorated or painted the cookie sheet to your liking, simply attach to your fridge door or other kitchen surface with strong double sided tape on the back. Using magnets, you can now stick whatever you like onto the cookie sheet and remove it easily! This is a super place to put recipes that you’ve been meaning to try.
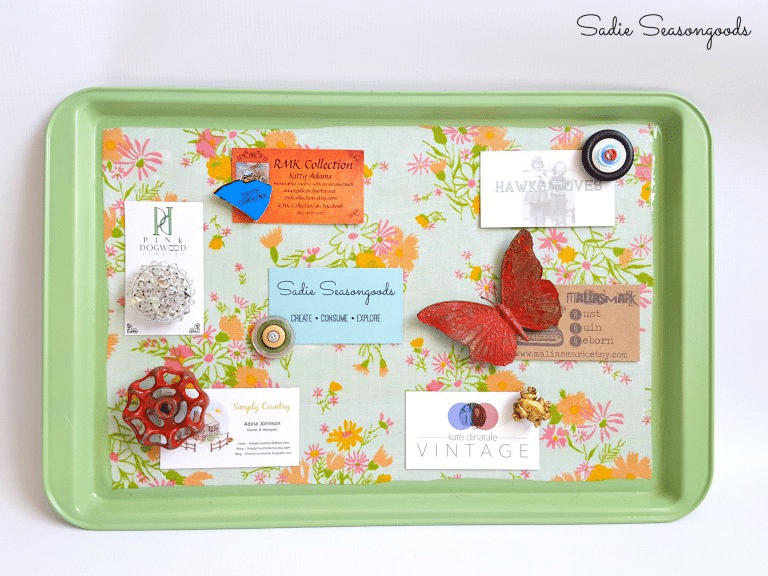
If you don’t have a cookie sheet lying around, you can also use a thin magnetic metal tea tray, some tea trays are beautifully decorated already (saving you a step), and if you’re not one for tea parties, this is the perfect way to make use of a tea tray – brightening up the kitchen.
Conclusion
Having a magnetic fridge is an often underrated part of a modern kitchen.
I hope this quick guide has helped give you a few ways to repair or replace that part of your fridge for you.
If this content’s helped you, please consider supporting us by checking out our related articles below.
Thanks for reading, and have a great day!


Designing Modern Living Rooms from Iconic Movies

7 Tips for Heating a Room with High Ceilings (On A Budget)